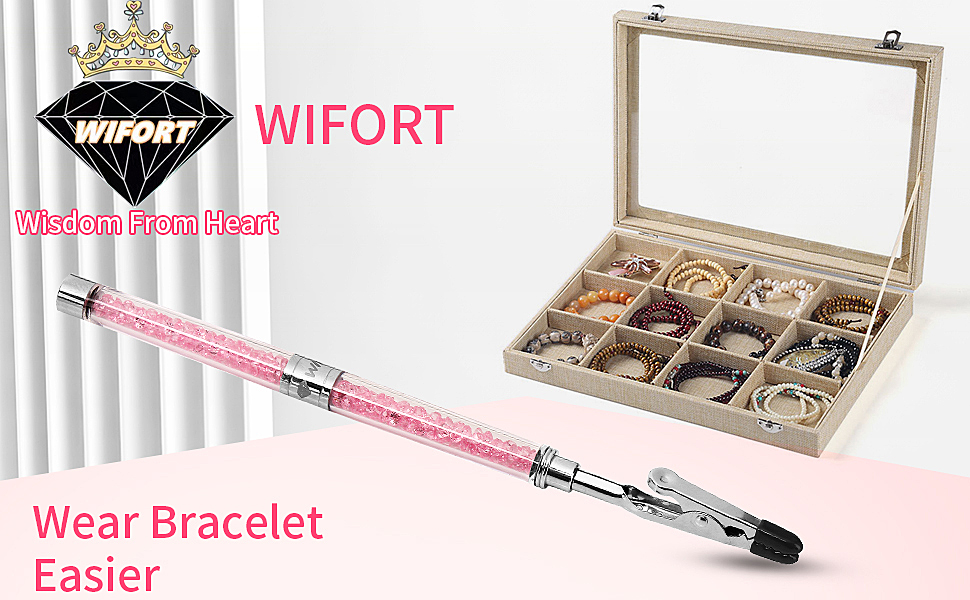
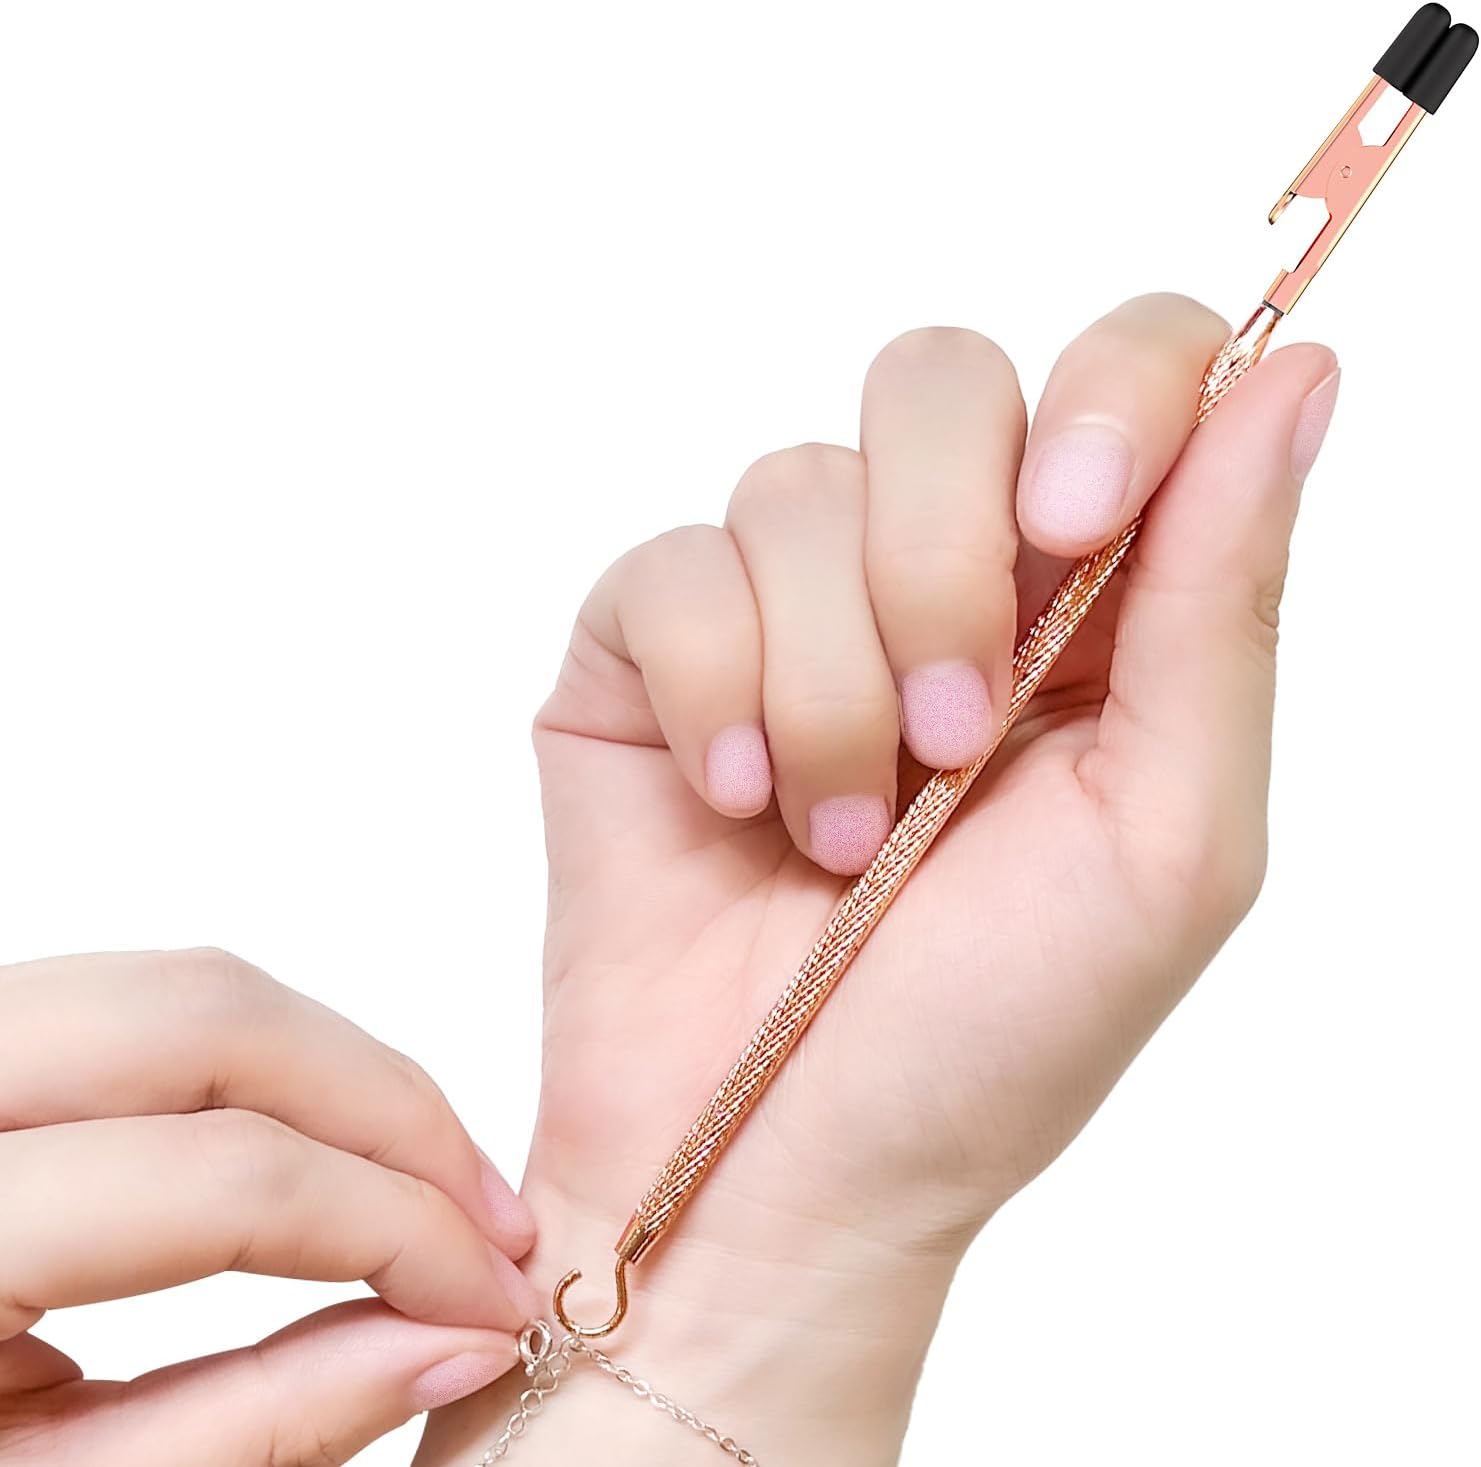
Creating your own jewelry can be a rewarding experience, allowing for personal expression and creativity. However, one of the common difficulties faced by DIY enthusiasts and jewelry makers is dealing with bracelet clasps. This article explores various DIY bracelet clasp helpers, offering creative solutions for every wrist size and dexterity level.
The Importance of Bracelet Clasps
Bracelet clasps are essential not only for functionality but also for the overall aesthetic of the jewelry piece. A good clasp should ensure that the bracelet stays securely on the wrist while complementing the design. When it comes to DIY jewelry, understanding clasp types and how to modify them can enhance your creations significantly.
Common Types of Bracelet Clasps

Before diving into DIY solutions, it’s important to understand the common types of bracelet clasps available:
- Lobster Claw Clasp: A popular choice for its reliability and ease of use.
- Toggle Clasp: Features a bar and ring mechanism, often used for decorative purposes.
- Magnetic Clasp: Ideal for individuals with limited dexterity, as they easily snap together.
- Box Clasp: Provides a secure closure and is typically used in heavier bracelets.
- Slide Clasp: Allows for adjustable sizing and can be easily manipulated.
Challenges with Traditional Clasps

While traditional clasps serve their purpose, they can present challenges, especially for those with limited mobility or strength in their hands. Some common issues include:
- Difficulty in fastening or unfastening clasps.
- Clasps that open unintentionally, leading to lost jewelry.
- Clasps that do not accommodate varying wrist sizes comfortably.
Creative DIY Solutions for Bracelet Clasps

Here are some creative DIY solutions to enhance or modify bracelet clasps, ensuring a better fit and ease of use for every wrist:
1. Using Ribbon or Cord for Easy Adjustment
A simple yet effective way to create an adjustable bracelet is to use ribbon or cord instead of a traditional clasp. This method allows for easy tightening or loosening, making it suitable for various wrist sizes.
- Materials Needed: Ribbon or cord, scissors, and a lighter (for fraying ends).
- Instructions:
- Measure the desired length of the bracelet.
- Cut the ribbon or cord, leaving extra length for tying knots.
- Create a loop at both ends and tie securely to form a bracelet.
- Use the extra length to adjust fit as needed.
2. Magnetic Clasp Upgrade
If you love the simplicity of magnetic clasps but find them too weak, consider upgrading to stronger magnets. This enhancement ensures better security while retaining ease of use.
- Materials Needed: Strong magnetic clasps, jewelry wire, and crimp beads.
- Instructions:
- Attach each end of the magnetic clasp to the jewelry wire using crimp beads.
- Ensure that the magnets are aligned properly for a secure closure.
3. Toggle Clasp with a Twist

Toggle clasps can be made more functional and stylish with added creativity. Consider using decorative elements like beads or charms to create a toggle that is both functional and visually appealing.
- Materials Needed: Toggle clasp, decorative beads, and jewelry wire.
- Instructions:
- String decorative beads onto the wire before attaching to the toggle clasp.
- Secure the beads in place and attach the wire ends to the bracelet.
4. Braided Leather for Strength and Style
Braid leather strips to create a strong and stylish bracelet. This method eliminates the need for a traditional clasp while providing a secure and adjustable fit.
- Materials Needed: Leather strips, scissors, and glue.
- Instructions:
- Braid the leather strips together, ensuring they are tightly woven.
- Secure the ends with glue or by tying a knot.
- Adjust the length by trimming as needed.
5. Button and Loop Closure

A button and loop closure is a charming alternative to traditional clasps, offering both functionality and a unique design element.
- Materials Needed: A button and a loop of string or wire.
- Instructions:
- Sew or attach the button to one end of the bracelet.
- Create a loop with string or wire at the opposite end, ensuring it fits snugly over the button.
Case Studies: Successful DIY Bracelet Projects
To illustrate the effectiveness of these DIY solutions, let’s look at a couple of case studies:
Case Study 1: Emily’s Adjustable Ribbon Bracelet
Emily, a jewelry enthusiast with a penchant for creating custom gifts, struggled with traditional clasps that often broke or were challenging to use. By opting for a ribbon closure, she found that she could create beautiful bracelets that adjusted to fit her friends and family perfectly. This not only streamlined her crafting process but also increased the satisfaction of her recipients.
Case Study 2: Mark’s Upgraded Magnetic Clasp

Mark, who has limited dexterity due to arthritis, initially found magnetic clasps frustrating as they often came undone. By upgrading to stronger magnets and ensuring proper alignment, he was able to create a line of bracelets that were not only easy to wear but also securely fastened. This innovation significantly improved his crafting experience and led to positive feedback from customers.
Statistics on DIY Jewelry Trends
According to a recent survey by the Craft and Hobby Association, approximately 80% of DIY jewelry makers face challenges with clasps. Furthermore, 45% expressed interest in learning more about adjustable designs and alternative closures. This highlights the demand for innovative solutions in the DIY jewelry community.
DIY bracelet clasp helpers provide numerous creative solutions that cater to various wrist sizes and dexterity levels. By exploring alternatives such as ribbons, magnetic upgrades, toggle enhancements, and unique closures like buttons, you can create stunning, functional bracelets that meet your needs. Whether you’re a seasoned jewelry maker or just starting out, these DIY tips and tricks can elevate your crafting experience and improve the overall quality of your creations. Embrace creativity, and don’t shy away from experimenting with new clasp designs!